
Drywall Sanding Services

- Smooth, Paint-Ready Walls & Ceilings -

  • Since 2010
  • Bonded And Insured
Downtown Los Angeles skyline with palm trees

Quality Walls
Stronger
Spaces

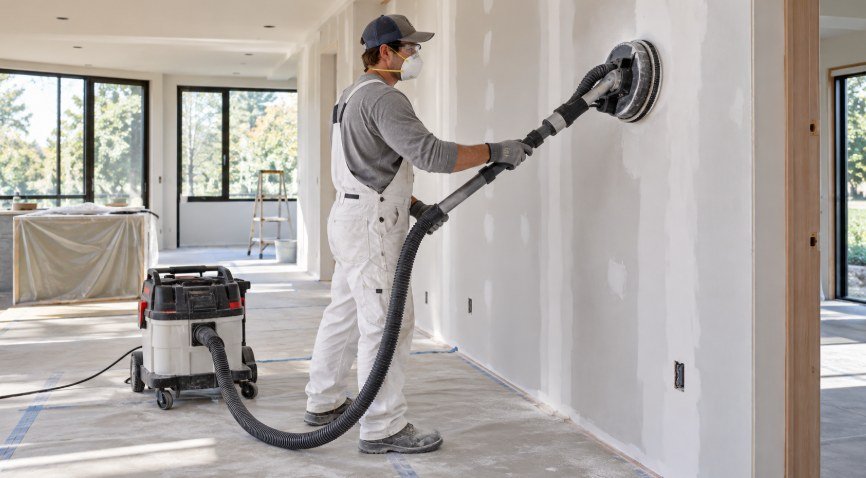
Drywall finisher sanding walls with a vacuum-assisted power sander for dust control

Smooth Walls.
Less Dust.
Ready for Paint.

Drywall Sanding Services

Drywall sanding is the finishing step that helps turn taped and mudded walls into smooth surfaces ready for primer, paint, texture, or another final finish. After joint compound dries, small ridges, tool marks, rough edges, and uneven transitions can remain around seams, corners, patches, and fasteners. Careful sanding removes these imperfections without damaging the drywall paper or creating unnecessary low spots.

Proper drywall sanding requires control. Sanding too aggressively can expose tape, damage the paper face, or create uneven areas that need additional compound. Sanding too lightly can leave visible edges that become noticeable after paint is applied.

Our drywall sanding services cover new construction, repairs, walls, ceilings, patches, skim-coated surfaces, residential interiors, commercial projects, and dust-control applications.

New Drywall Sanding

New drywall usually requires sanding after the taping and mudding stages are complete.

Once the final coat of joint compound has dried, the surface is checked for ridges, raised edges, tool marks, and other small imperfections.

Sanding helps smooth the transition between joint compound and the face of the drywall.

The objective is not to remove large amounts of material, but to refine the surface and prepare it for primer, texture, or paint.
Wall Drywall Sanding

Wall drywall sanding is used to smooth seams, corners, patches, fastener areas, and skim-coated surfaces.

Large walls can reveal small imperfections once they are painted, particularly when sunlight enters from the side.

For that reason, the surface should be checked from multiple angles before the sanding stage is considered complete.

Smooth, controlled sanding creates a better foundation for primer and finish paint.

Drywall Joint Sanding

Drywall joints are some of the most important areas to sand carefully.

The joint compound around a seam is typically spread wider with each coat so the surface gradually transitions into the surrounding drywall.

Sanding helps remove small high spots while preserving the feathered edges.

If joints are sanded unevenly, the seam may remain visible after painting, especially under strong natural or artificial light.

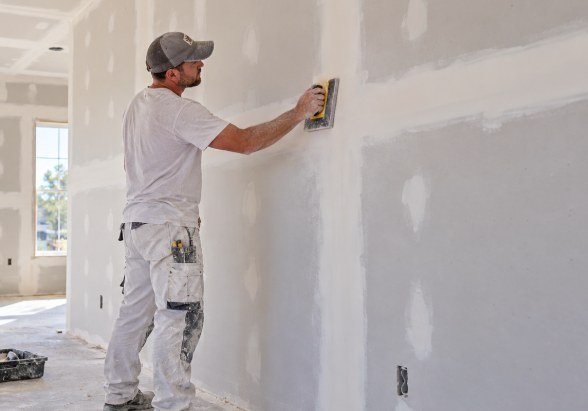
Drywall finisher hand sanding mudded joints with a sanding float

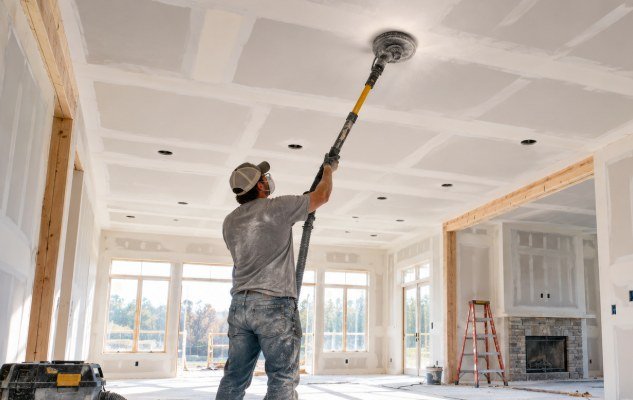
Ceiling Drywall Sanding

Ceiling sanding can be particularly demanding because imperfections are often highlighted by recessed lighting, windows, and ceiling fixtures.

Ceiling sanding may be required after new drywall installation, patch repair, skim coating, water-damage repair, or seam correction.

Long sanding poles or specialized drywall sanding equipment may be used to reach larger ceiling areas.

Careful pressure is important to avoid creating uneven sections or damaging the ceiling surface.

Drywall finisher sanding a ceiling with a long-reach power sander

Drywall Patch Sanding

A repaired drywall patch should gradually blend into the existing wall rather than creating a visible raised area.

After several coats of joint compound have been applied around the patch, sanding helps flatten ridges and soften the edges.

The sanding area may extend well beyond the original patch so the transition remains gradual.

Proper patch sanding is especially important after plumbing, electrical, HVAC, or impact repairs.

See our drywall repair services →

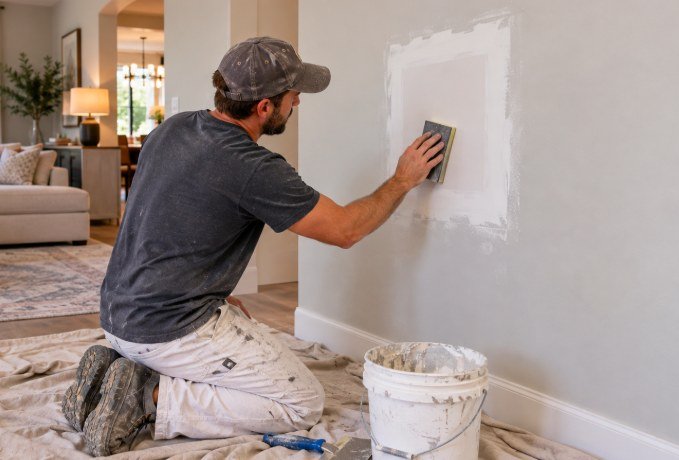
Technician hand sanding a finished drywall patch in a living room

Drywall Seam Sanding

Drywall seams can remain visible if the joint compound is not feathered and sanded properly.

Seam sanding focuses on smoothing the finished joint while protecting the drywall tape underneath.

Too much sanding along the center of the seam can expose tape, while insufficient sanding can leave raised edges.

A balanced approach creates a flatter surface that is less noticeable after painting.

Drywall Corner Sanding

Corners require a different approach from flat walls.

Inside corners need to maintain a clean, straight line without damaging the tape or compound on either side.

Outside corners should remain sharp and consistent while removing only small ridges or rough spots.

Hand sanding tools are often useful in these areas because they provide more control than larger sanding equipment.

Smooth Wall Sanding

Smooth wall finishes require more attention because there is no texture to hide minor imperfections.

Every seam, patch, corner, and transition may be visible under strong lighting.

Smooth wall sanding typically involves careful inspection and multiple light passes rather than aggressive sanding.

The goal is to create a clean, consistent surface with minimal visible changes in elevation.

Drywall Sanding After Repair

Drywall repairs usually require sanding after the final coat of joint compound has dried.

This may include repaired holes, cracks, seams, corners, nail pops, screw pops, or water-damaged sections.

The repaired area should be blended into the surrounding wall so the edges do not remain visible.

Larger repairs may require several rounds of compound and sanding before the surface is ready for primer.

The Importance of Proper Sanding Pressure

Drywall sanding is not about removing as much material as possible.

Too much pressure can cut through joint compound, expose tape, damage the drywall paper, or create depressions.

Light, even sanding allows the surface to be refined without creating new problems.

When deeper imperfections remain, applying additional joint compound may be a better solution than sanding aggressively.

Commercial Drywall Sanding

Commercial drywall sanding may be required in offices, retail spaces, hotels, medical offices, restaurants, apartment buildings, warehouses, schools, and tenant improvement projects.

These spaces often involve larger walls, long corridors, extensive ceilings, and repeated drywall joints.

Commercial sanding may use powered sanding systems and dust extraction to improve efficiency across larger areas.

Consistency is particularly important because long walls and strong commercial lighting can reveal differences in the finished surface.

See our commercial drywall services →

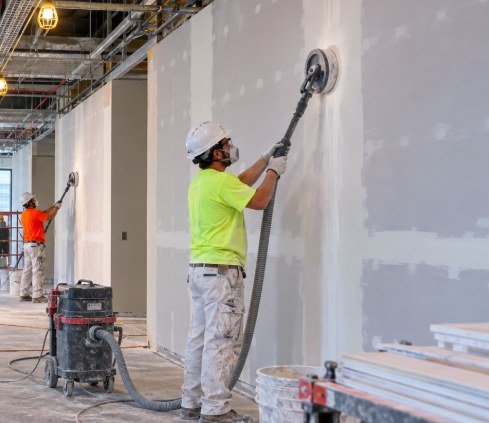
Commercial drywall crew sanding walls with dust-extraction sanders

Residential Drywall Sanding

Residential drywall sanding can be used in bedrooms, living rooms, kitchens, bathrooms, basements, garages, hallways, home additions, condos, apartments, and townhouses.

Projects may involve new drywall, remodeling, patch repairs, ceiling work, texture removal, or skim coating.

Protecting furniture, floors, cabinets, fixtures, and adjacent rooms is especially important when sanding inside occupied homes.

Dust-control practices can help keep the work area cleaner and reduce disruption.

See our residential drywall services →

Preparing Drywall for the Final Finish

Once sanding is complete, the walls and ceilings should be inspected carefully.

Bright side lighting can help reveal ridges, scratches, uneven seams, and small imperfections that are difficult to see under normal lighting.

Any remaining problem areas can be touched up with additional compound and lightly sanded again after drying.

The surface should then be cleaned so dust does not interfere with primer, paint, or texture.

Drywall Sanding FAQs

Sanding removes ridges, tool marks, and rough edges from dried joint compound so the surface is smooth and ready for primer, paint, or texture.

Yes. We can use vacuum-assisted sanders, dust extraction, barriers, and drop cloths to reduce airborne dust and make cleanup easier. No sanding is completely dust-free.

Yes. Too much pressure can expose tape, damage the drywall paper, or create low spots. That is why we sand lightly and add compound where deeper imperfections remain.

Yes. We sand ceilings with hand tools, pole sanders, or vacuum-assisted equipment, with extra care because lighting makes ceiling imperfections easy to see.

After sanding, we inspect the surface with side lighting, touch up any remaining spots, and clean off the dust so primer can bond properly.

Complete Drywall Sanding Solutions

Drywall sanding is one of the final steps before a wall or ceiling receives its finished appearance.

Whether the project involves new construction, repaired seams, ceiling work, patching, skim coating, smooth walls, or commercial interiors, careful sanding helps create a cleaner and more consistent surface.

From hand sanding and corner work to larger wall and ceiling projects with dust-control equipment, professional drywall sanding prepares the surface for the next stage while protecting the work completed during taping and mudding.

The goal is a smooth, uniform finish that is ready for primer, paint, texture, or the final decorative treatment.

Book Service

Prefer to talk? Call (323) 419-2033

Let’s Build
Better Spaces Together

Professional Drywall Services
for a Stronger, Brighter
Los Angeles