
Drywall Mudding Services

- Seams, Corners, Patches & Skim Coating -

  • Since 2010
  • Bonded And Insured
Downtown Los Angeles skyline with palm trees

Quality Walls
Stronger
Spaces

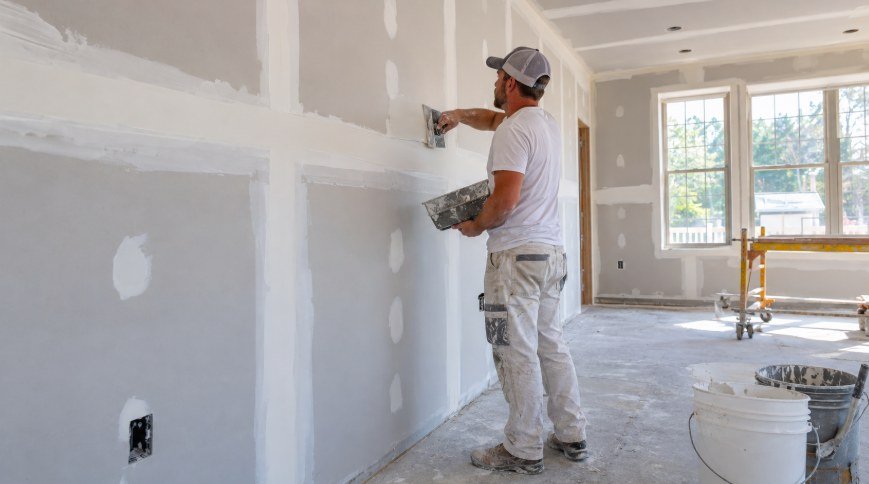
Drywall finisher applying joint compound over taped seams on new drywall

Coat by Coat
to a Smooth
Finish

Drywall Mudding Services

Drywall mudding is one of the key finishing stages that transforms visible drywall panels into smooth, continuous walls and ceilings. After the drywall is installed and the joints are taped, joint compound is applied over seams, fasteners, corners, patches, and other areas that need to be blended into the surrounding surface.

Quality drywall mudding requires patience, controlled application, and multiple coats. Each layer serves a different purpose, from embedding tape and filling joints to widening the repair area and creating a smooth final surface ready for sanding, texture, primer, or paint.

Our drywall mudding services cover new drywall, repairs, walls, ceilings, corners, patches, skim coating, uneven surfaces, residential interiors, and commercial projects.

Drywall Joint Compound

Drywall joint compound, often called drywall mud, is used to cover tape, seams, screw heads, corner bead, patches, and surface imperfections.

Different compounds may be used depending on the stage of the project and the type of repair.

Some products are designed for embedding tape, while others are better suited for filling, finishing, skim coating, or quick-setting repair work.

The correct compound and application method help create stronger joints and smoother finished surfaces.
New Drywall Mudding

New drywall installation leaves visible seams, screw heads, corners, and transitions that must be finished before the walls can be painted.

The mudding process typically begins after drywall tape has been installed.

Joint compound is applied over the taped seams, fasteners, and corners in several stages.

Each coat is spread wider than the previous one to gradually blend the joint into the face of the drywall.

Careful new drywall mudding helps reduce visible ridges, humps, and uneven transitions.

Drywall Seam Mudding

Seams are where two drywall panels meet.

Once tape has been embedded, additional joint compound is applied over the seam to hide the tape and create a flatter transition.

The compound is feathered outward on both sides of the joint.

As additional coats are applied, the finished area becomes wider and smoother.

Proper seam mudding is especially important on long walls where uneven joints can become visible under natural light or after painting.

Corner Mudding

Corners require careful attention because they create sharp visual lines throughout the room.

Inside corners may be finished over folded paper tape, while outside corners often use corner bead or a similar finishing product.

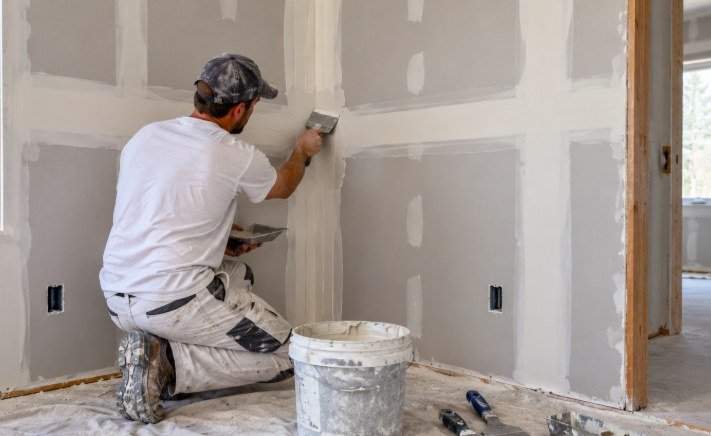
Joint compound is applied along the corner and feathered into both adjoining walls.

Outside corners must remain straight and durable, while inside corners should have a clean, consistent crease.

Good corner mudding can make a major difference in the overall appearance of finished drywall.

Drywall finisher mudding an inside corner and taped seams

Ceiling Mudding

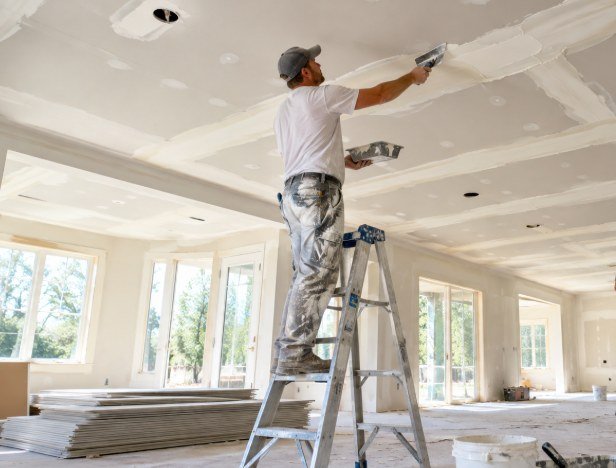
Ceiling drywall mudding can be more demanding because long seams and surface imperfections are often highlighted by overhead lighting and windows.

Joint compound may be applied over ceiling seams, screw heads, patches, cracks, and repair areas.

The compound must be spread evenly while keeping the finished surface as flat as possible.

Ceiling mudding is commonly required in new construction, room additions, remodeling projects, basement finishing, garage projects, and ceiling repairs.

Drywall finisher on a ladder mudding ceiling seams in a new home

Drywall Patch Mudding

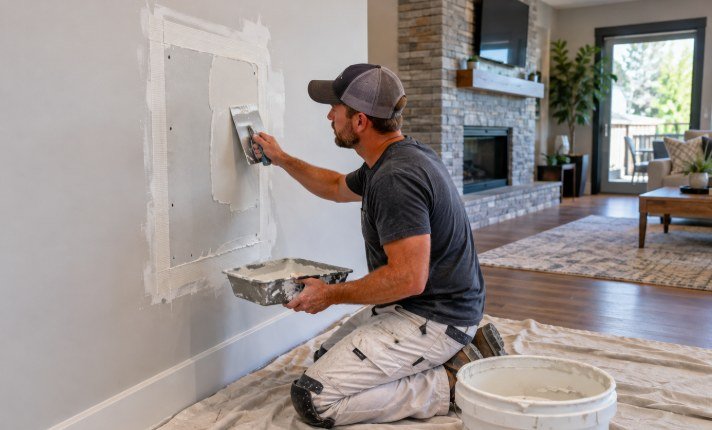
After a drywall patch is installed, the edges of the new section must be blended into the existing wall.

Joint compound is applied over the taped perimeter of the patch and gradually feathered into the surrounding surface.

Larger patches usually require several coats.

Each coat should extend farther beyond the repair area so the transition becomes less noticeable.

Patch mudding is commonly needed after hole repairs, plumbing work, electrical access, HVAC work, and impact damage.

See our drywall repair services →

Technician feathering joint compound over a taped drywall patch in a living room

Why Multiple Coats Matter

Drywall joints are slightly different from the flat face of the panel.

Trying to hide the entire joint with one thick coat can create ridges, cracking, extended drying time, and unnecessary sanding.

Multiple thinner coats allow the joint to be built gradually.

  1. 1

    First Coat

    The first coat covers and fills.

  2. 2

    Second Coat

    The second coat widens the transition.

  3. 3

    Finish Coat

    The finish coat refines the surface.

This layered process helps create a flatter and more professional final appearance.

Skim Coating

Skim coating involves applying a thin layer of joint compound over a larger wall or ceiling surface rather than only over individual seams.

This method can be useful when a surface has widespread imperfections, old texture, minor waves, previous repairs, or uneven finishing.

A skim coat helps create a more uniform surface and can be used during remodeling, restoration, or preparation for a smoother finish.

Several thin coats may be used depending on the existing condition.

Wall Skim Coat

Wall skim coating can help improve surfaces that have multiple repairs, rough texture, visible joints, or uneven areas.

The compound is spread thinly across the wall and then smoothed before drying.

After sanding, the wall can provide a cleaner surface for primer and paint.

Wall skim coating is especially useful when spot repairs alone would leave too many visible transitions.

Ceiling Skim Coat

Ceiling skim coating is used to create a more consistent surface across a large ceiling area.

It may be appropriate after texture removal, repeated repairs, crack repair, water-damage restoration, or when an older ceiling has widespread surface irregularities.

Because lighting can reveal minor ceiling imperfections, careful application and sanding are important.

A smooth skim-coated ceiling can provide a more uniform appearance before painting.

Drywall Mud Repair

Existing drywall mud can crack, chip, separate, or become damaged over time.

Repairs may involve removing loose compound, reinforcing the affected area, applying fresh joint compound, and feathering the repair into the surrounding wall.

Damaged mud is often found around seams, corners, nail pops, patches, or previous repairs.

Repairing the compound correctly helps restore a smoother surface instead of simply covering damaged material.

Uneven Wall Mudding

Uneven drywall may show ridges, low spots, poorly feathered seams, visible tape lines, or inconsistent patches.

Additional mudding can sometimes help improve these areas.

Compound may be applied strategically to low sections or wider areas to create a flatter transition.

Uneven wall correction often requires thin coats and careful sanding rather than heavy buildup.

The objective is to improve the visual consistency of the surface before finishing.

Commercial Drywall Mudding

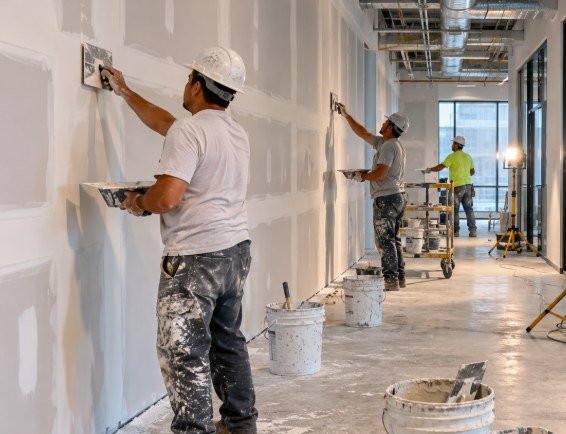
Commercial drywall mudding may be required in offices, retail stores, restaurants, hotels, medical spaces, apartment buildings, warehouses, schools, and tenant improvement projects.

These jobs often involve larger wall areas, long seams, multiple corners, commercial ceilings, and coordination with other construction trades.

Consistency is especially important across large spaces because uneven joints or finishing variations can become highly visible.

Commercial mudding may be completed as part of new construction, remodeling, repairs, or complete interior build-outs.

See our commercial drywall services →

Commercial drywall crew mudding corridor walls in an office build-out

Residential Drywall Mudding

Residential drywall mudding can be used in bedrooms, living rooms, kitchens, bathrooms, garages, basements, attics, hallways, condos, apartments, townhouses, and home additions.

Projects may involve new drywall, remodeling, ceiling repairs, patch work, seam repairs, or skim coating.

In occupied homes, protecting floors, furniture, trim, and nearby rooms is also an important part of the work.

Careful finishing helps create cleaner walls and ceilings that are ready for the next stage.

See our residential drywall services →

Drywall Mudding FAQs

Most joints receive several coats: a first coat to cover and fill, a second coat to widen the transition, and a finish coat to refine the surface. The exact number depends on the project.

One heavy coat can crack, take longer to dry, and create ridges that need extra sanding. Several thinner coats create a flatter, more professional finish.

Skim coating spreads a thin layer of joint compound over a whole wall or ceiling to smooth widespread imperfections, old texture, or multiple repairs.

Yes. We can remove damaged compound, fill low spots, and feather new coats to improve ridges, visible seams, and uneven patches.

Yes. In occupied homes we protect floors, furniture, trim, and nearby rooms before work begins.

Complete Drywall Mudding Solutions

Drywall mudding connects the taping stage with the final sanding and finishing stages.

Whether the project involves new drywall, ceiling seams, corners, patches, skim coating, damaged compound, or uneven surfaces, careful application is essential.

From the first coat through the final finish coat, each step contributes to how smooth and uniform the finished wall or ceiling will look.

Professional drywall mudding helps prepare residential and commercial surfaces for sanding, texture, primer, and paint while creating cleaner transitions across joints, repairs, and corners.

Book Service

Prefer to talk? Call (323) 419-2033

Let’s Build
Better Spaces Together

Professional Drywall Services
for a Stronger, Brighter
Los Angeles